Sourdough Starters
how to leaven your bread the old-fashioned way
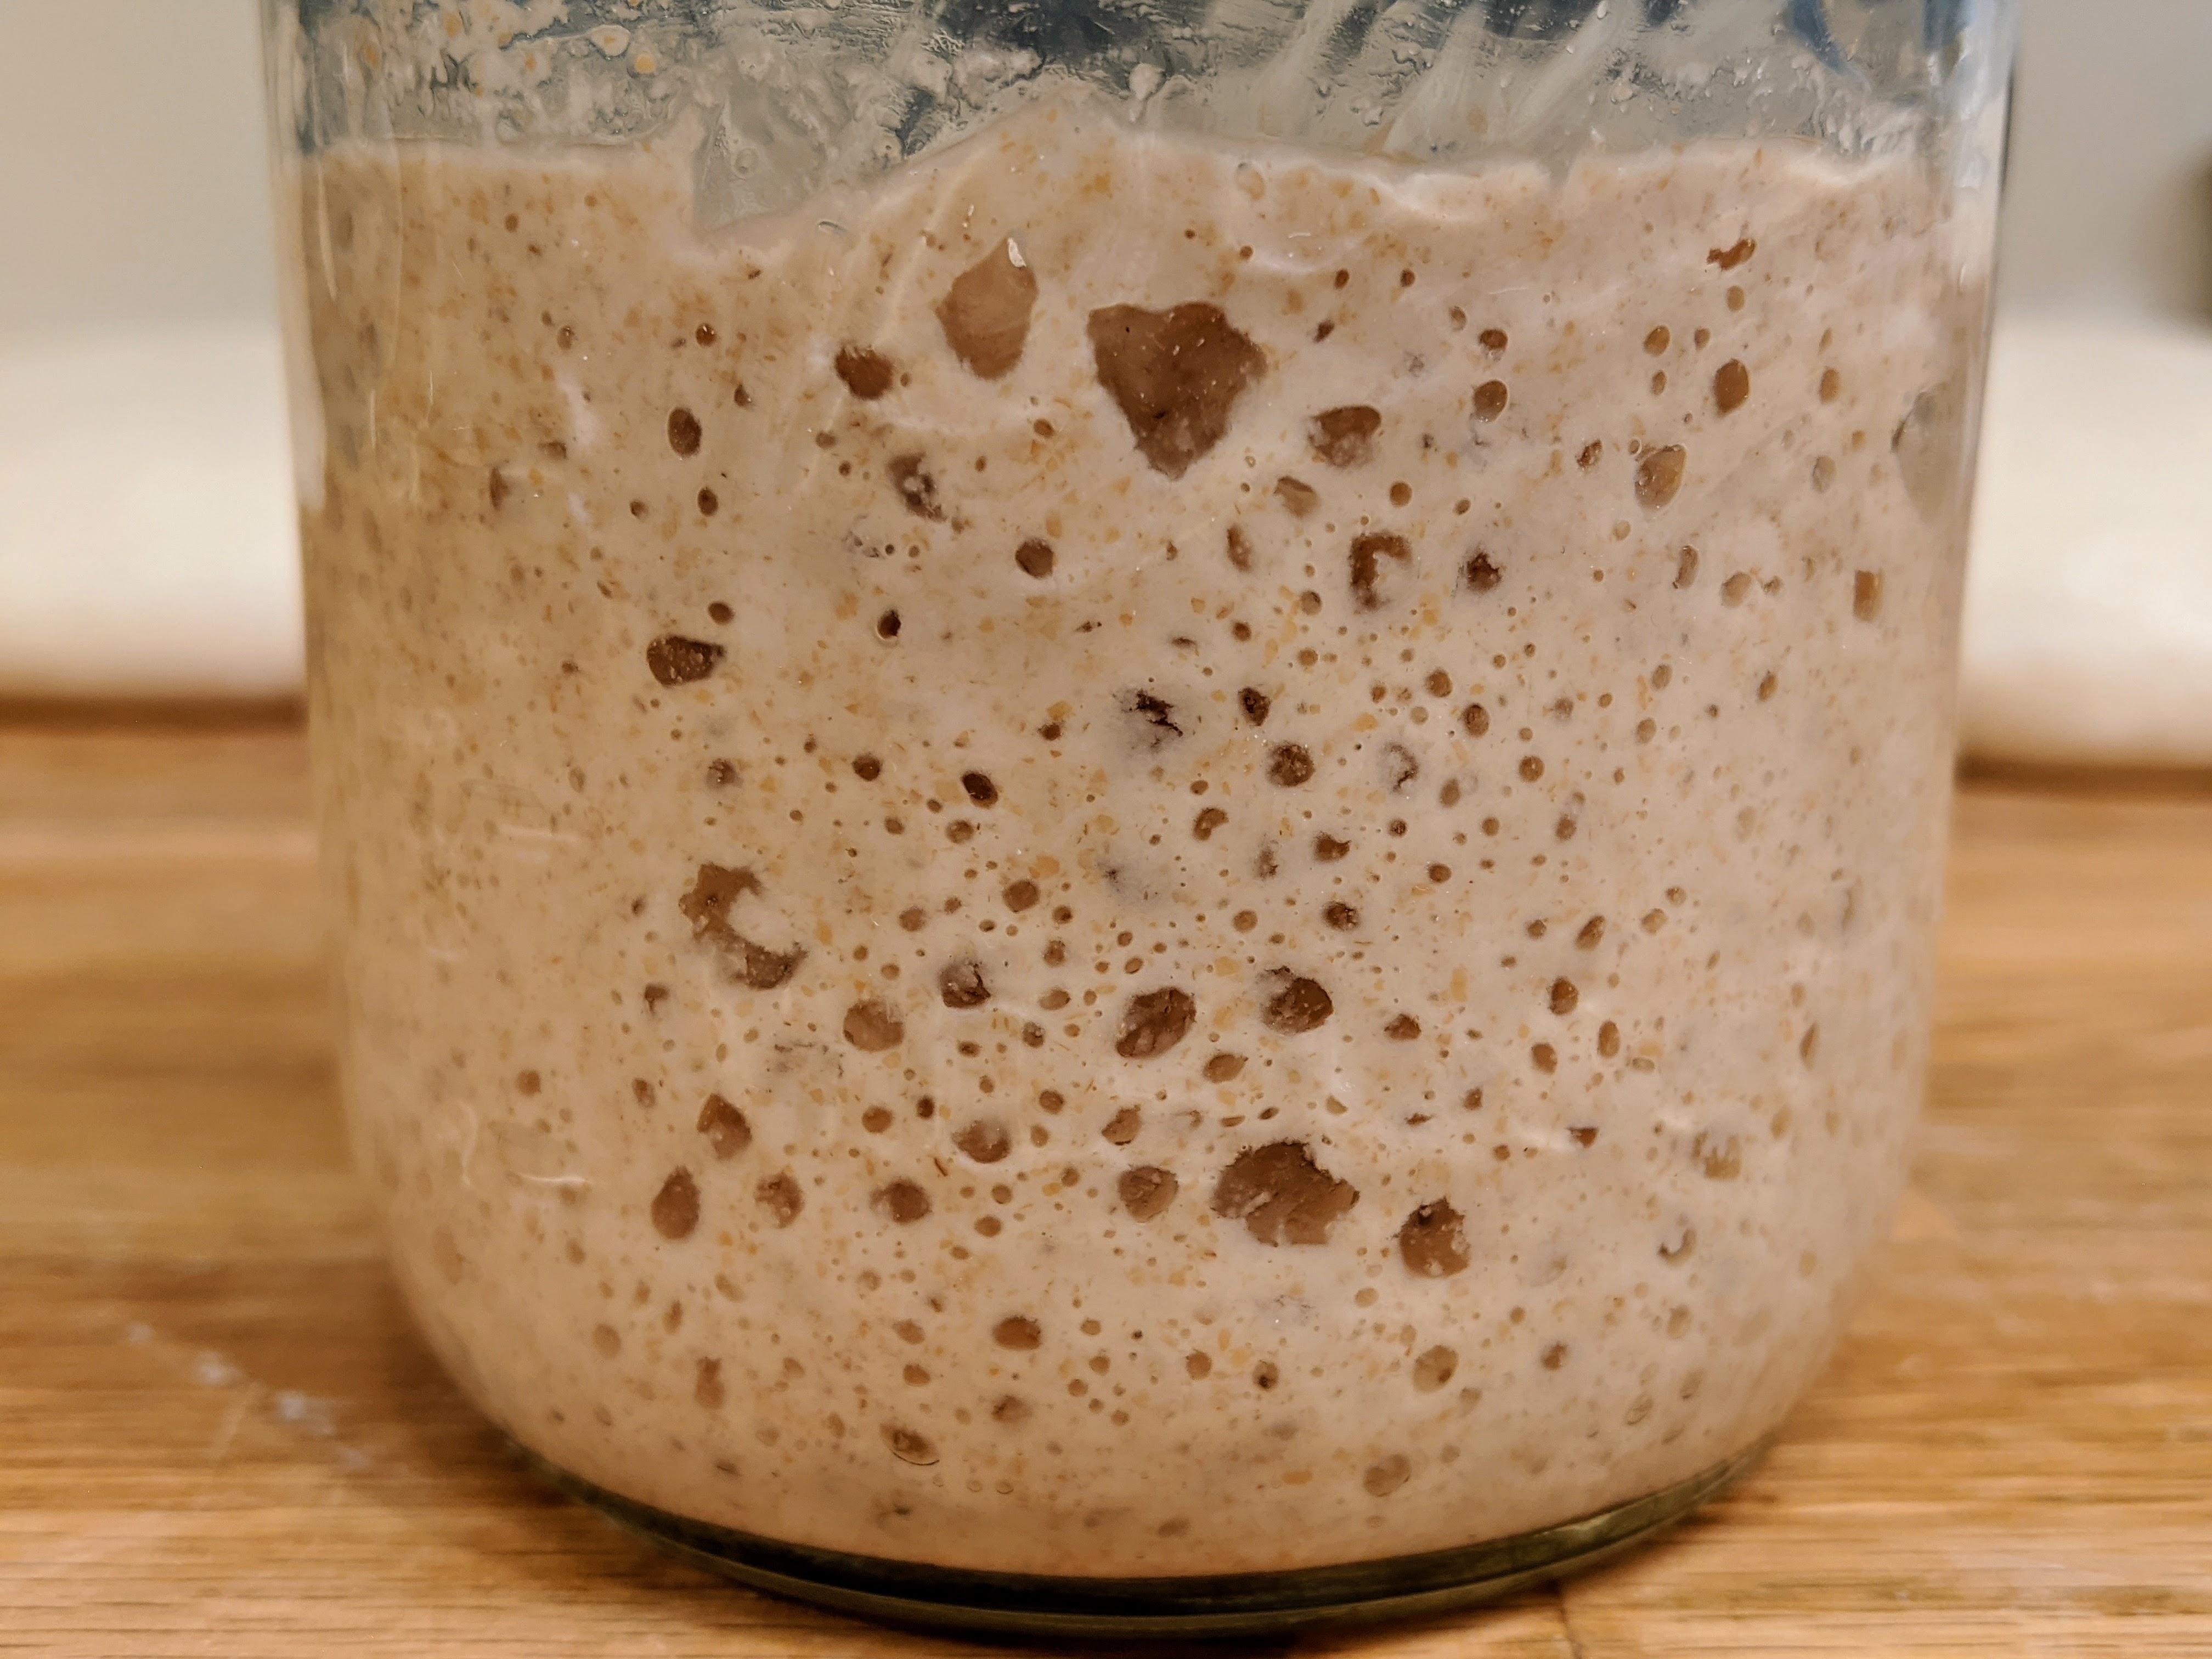 a jar of mature sourdough starter
Creating a Starter
So how do you get one of these magical starter cultures? You can ask me, and I’ll give you part of mine, but there is some satisfaction in doing it yourself. My best suggestion is to head over to The Perfect Loaf, one of my favorite places to learn about sourdough. Maurizio’s stuff is great, and he has a good procedure for starting a starter that’s pretty much as efficient as possible. Once you have one going, you have to name it. It is the law.
TL;DR
Fundamentally all you do is mix flour and water and hope that the good bacteria and yeast win before the bad bacteria do. The odds are in your favor, though, since the good bois are producing things that make the culture hostile to pathogens.
All you gotta do to make a starter is:
- Mix flour and water, put somewhere kinda warm, wait 24h.
- Throw half of it out, add equivalent weight of flour and water to the stuff you just threw out.
- Keep doing that for a week or so.
- One day it’ll look something like the featured image at the top of this post.
- or it’ll look and smell bad, in which case something has gone awry. Start over.
- 🎉 you have a starter.
Definitely read the article I linked above, but a few tips to remember are:
- Use unbleached flour. Bleaching removes the good yeasties.
- Add some whole grain. Maurizio uses rye, I just used whole wheat. This gives you more good yeasties than white flour alone.
- I also just used regular King Arthur All Purpose flour and their Hard Red Winter (Whole) Wheat. It’s better than misc cheapo flour, but it’s not extremely high end hipster flour or anything.
- Keep it mostly clean. The first few days are a battle of exponential growths. You don’t want to get too much bad bacteria in there before the good stuff can take hold. You’re washing your hands anyways, right?
Maintaining a Starter
The whole point in starter maintenance is to keep your wee culture happy and healthy, and to be able to use some of it to leaven some bread from time to time. It’s a little blob of yeast and bacteria that gradually consumes all of the food (mostly carbs, but proteins too) in the flour and in exchange produces some useful byproducts (CO₂, alcohol, lactic acid, other tasty bits). Once it has consumed all its food, it goes dormant, or eventually dies if you leave it too long. The byproducts are generally hostile to pathogenic bacteria, so as long as you keep it healthy and don’t dump anything really nasty in there, the natural environment prevents it from spoiling.
There’s a lot of lore around starters, and most of it has proven to be rumor and conjecture. All that really matters is that you feed it occasionally and nothing too gross gets into it. I happen to find a 12h feeding cycle convenient, because some recipes can be made from starter directly in the morning and some need a child starter (levain) to be started in the morning or evening, depending on your schedule. You can do a 24h feeding cycle instead, but it’s harder to adjust to your baking schedule when there’s only one opportunity per day to use the starter.
If you don’t want to bake for a while, NBD! Just store your starter somehow. It’s easy, and before the quarantine I usually did something like this weekend baking schedule. Nowadays since I’m home all day anyways, I’ve been continuously maintaining my starter as described below.
I’ve streamlined my starter process a little bit. I basically do one of two things, depending on what my intent is over the next 24h.
Not gonna bake in the next 24h
- Wake up, make coffee. ☕️ important, or bad things happen.
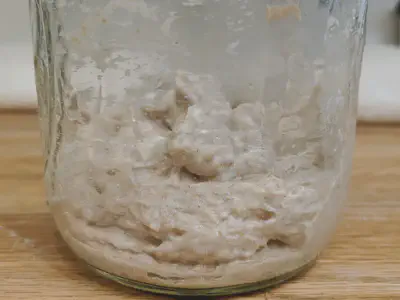
- Discard all but a little smear of starter on the bottom of the jar, maybe 3-5g.
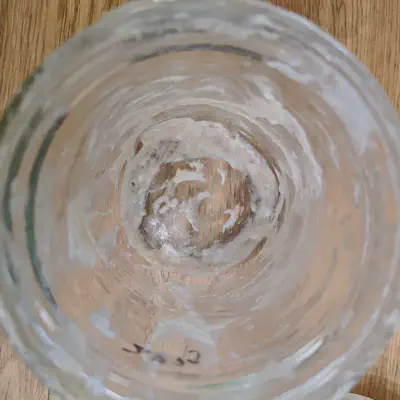
nearly empty jar with just a little leftover starter - Tare my scale, add 25g of regular old (unbleached, always) all-purpose flour.
- Measure 25g/ml of filtered (no chlorine, please) water and microwave it for 6s. Shooting for room temp.
- Mix it all up, put a loose lid on top of the jar, and stick it in my proofer set at 77ºF/25ºC.
I just bought myself 12h (24 in a pinch). Now at ~9pm I do the same thing. This only consumes about 50g of flour and 4 minutes per day. If you forget one of them, nbd just do the same thing as always. It might be stressed, so you might want to leave a little more residual starter.
Gonna mix up a loaf in the next 24h
- Wake up, make coffee. Still important.
- Figure out how long until I want to use the starter. These days during quarantine it’s something like 9am and I want to mix the starter into a batch of bread at around 6pm. For this example, 9h.
- Figure out how much starter I need. Lately it’s been 144g. My starter is 100% hydration so I need 72g of flour and 72g of water. Lets round up to 80g each to be safe.
- When I bake with my starter, I almost always use 1:1 ratio of All Purpose (AP) : Whole Wheat (WW), so 40g AP : 40g WW : 80g H₂O. That’s the easy math.
- Now the tricky part: figuring out how much starter to leave behind.
- I happen to know (from experience, and by design) that at 25ºC and ~8% leftover starter, that my starter will be ready in about 12 hours.
- I need it to be ready in 9h, so I have to adjust some variable to speed it up: higher temperature, higher hydration, increasing WW%, and leaving more starter behind will all make this go faster.
- Modifications to anything but residual starter also change other variables: flavor being the big one. I don’t really want to do that. Therefore we’re gonna increase the amount of starter we leave behind.
- This is an exponential growth thing (is this why everyone’s into sourdough lately?) so doubling the residual starter should halve the amount of time. We want to cut it by 50%, so lets add 50%. So 12% residual starter, or 20g plus the 160g new stuff we’re adding.
- Dump everything but 20g of yesterday’s starter, add 40g AP flour, 40g WW flour, 80g water (microwave ’till it’s close to 77 degrees, 14s in my case). Stir that bad boy up, loose lid, let sit ’till 6pm.
I know that sounds like a lot, but you’ll get the hang of it after a couple tries and you won’t need to pull out the calculator. The math also doesn’t need to be exactly perfect, you’re gonna have a 1-3h window here to use the thing.
How do I know when my starter is ready to be used?
Generally you want your starter to be at its peak when you use it. It’s growing the fastest at this point and is almost done consuming all the available food, so your microorganism population is the highest. If you use it too early, it’ll be diluted too much and won’t be able to leaven your bread (or it’ll take a while). If you use it too late, it’ll have gone into dormancy and it’ll take too long to come back.
Some people like to take a little bit of the starter and drop it in a cup of water and see if it floats. That’s fine, but using your eyes and nose usually works too. It should look really bubbly and shouldn’t have fallen much, if any, from its peak. Check out the featured image at the top for what a fully mature starter looks like. It also smells like fermentation: a little bit of alcohol, a little bit of vinegar. Yeasty, but definitely not foul.
Now what?
Now you make some bread. I haven’t written that up in long form yet, but here’s a few places to look if you’re impatient:
- TPL’s Focaccia was my first sourdough, and it came out great on the first try. It is not sour at all, and if you don’t like sourdough this is a great place to start. It also doesn’t require a dutch oven because it bakes in a 13x9" casserole dish. ProTip™: if you use a glass one, line it with parchment so it doesn’t stick.
- If you want to practice with dough before your starter is ready, try Kenji’s No Knead Recipe. It’s a good read regardless. That dough is 70% hydration, which is fairly wet but not as wet as the 78% I usually bake.
- I’ve made a ton of TPL’s Beginners Sourdough. There’s a lot of good sourdough discussion in that article, so I highly recommend that you read it regardless. I also like to make it with a 90:10 white:wheat ratio for a milder loaf. At 90:10 it tastes like really good white bread, with just a touch of extra wheaty flavor from the whole wheat. It’s also only very, very mildly sour.
- Peruse my bread spreadsheet (Breadsheet?). This breadsheet has bakers formulas for most of the stuff I’ve made recently. For those of you who are fans of Zingerman’s Sesame Semolina, there’s a tab in there for you.
Brandon Dimcheff
Chief Architect
Brandon Dimcheff is a software engineer born and raised in Ann Arbor, Michigan. He uses go for his day job, has fallen in love with Kubernetes, is an aspiring functional programming language nerd, and is an advocate of open source.